
Martha Stewart Crackle Specialty Finish On My Dollhouse Walls
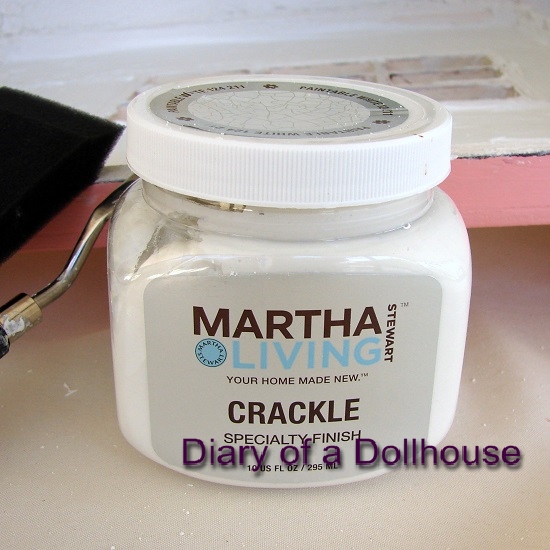
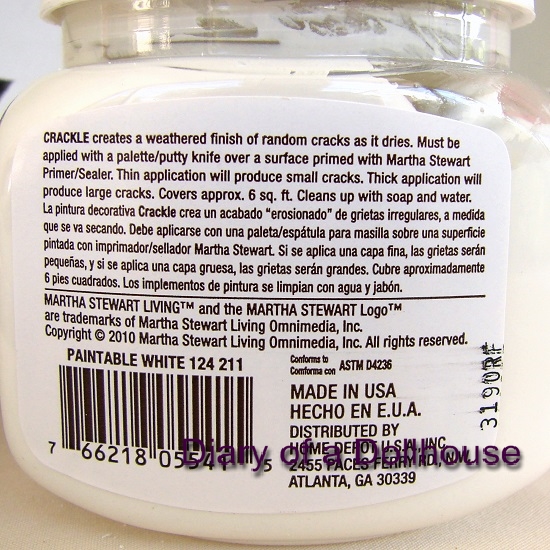
I thought I'd share my experience trying to create the look of old cracked plaster on my Beach Cottage dollhouse walls. I used the Crackle Specialty finish product from Martha Stewart Living. I picked up the jar at Home Depot. The pictures in the examples looked great and I thought it would give the walls a weathered old beach cottage look. This is the back of the jar with the instructions. As you can see the instructions are minimal, and I looked online at the website which didn't provide much more detail. I watched her video but she was crackling a little box about the size of a sandwich. Of course that looked easy. Nothing like what I was about to do.
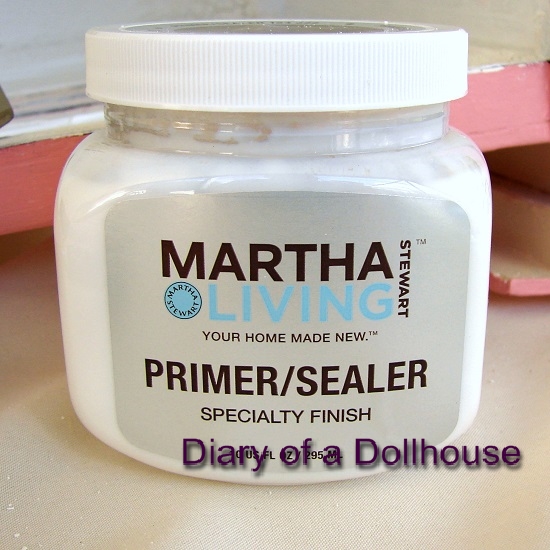
I bought the paintable white version of the mix. There are a few other colors, a green, beige, and I think a peachy orange. I planned on painting the walls afterwards so I stuck with the plain white. I also bought the Martha Stewart Primer Sealer that is recommended.
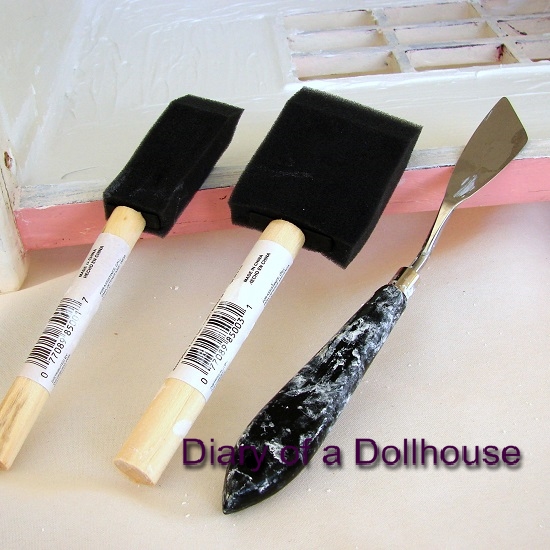
After I applied the sealer and let it dry overnight I got out the special Martha Stewart tool I bought to apply the crackle mix. The consistency of the product was like thick pudding, which made it very difficult to apply. I wanted to spread on a thick layer to get heavy cracks but found it too hard to do on a vertical wall. I really needed the consistency of peanut butter. So I just did one wall to see how it looked. The next morning I found that parts of the wall had a light crackle and other sections had no crackle. The whole wall was very uneven and looked like I had used my fingers to apply the product. Like finger painting texture.
Here's a photo of the back wall which is where I worked first. I wasn't happy at all with the look.
So I headed off to the store and bought a couple of small sponge paint applicators. I thought that might be better than a metal tool for applying the goop.
I also looked again at the poster in the store for more hints to what I was doing wrong. The picture was of a table that had been crackled. It occurred to me that maybe the trick was to apply on a horizontal surface instead of a wall. Easy enough.....
Meanwhile I'm 3 days into the project and have spent about $25 on product mix, primer/sealer, and supplies. This time I used the sponges to layer on a thicker coat of crackle on a horizontal "wall".

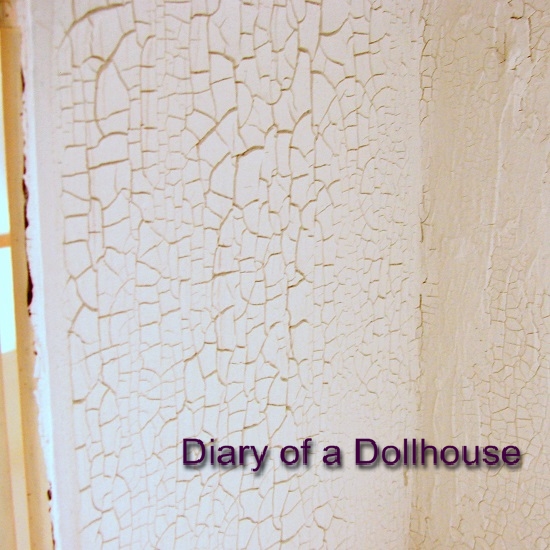
Actually what I ended up with was a little smoother than this after I worked it over a few times. But you can see the texture of the mixture. The next morning I had better success. My wall had nice cracks but was still a bit bumpy. I figured I could sand it before painting to smooth it a bit.
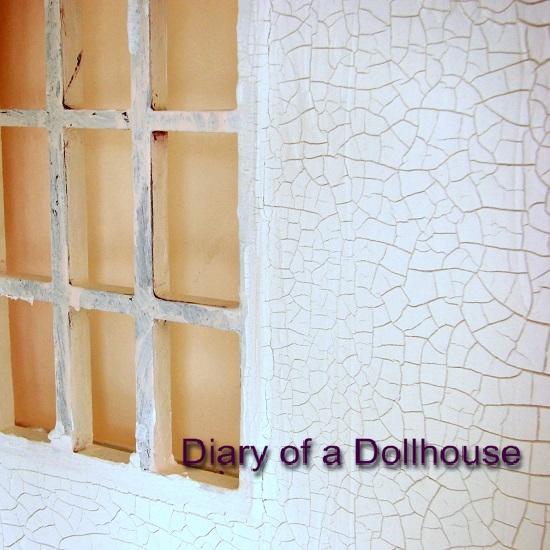
Unfortunately I didn't have enough left in the jar to apply to the 3rd wall, so I headed back to Home Depot for another jar. I used it for the 3rd wall and attempted to go over the spots on the original wall that didn't have enough product to produce the cracks. That didn't work, I would have had to replaster the whole wall and I probably would have run out of mix again. Also I didn't want to spend another day on this project. Anyway here's the 3rd wall. Pretty good, although I think I spread it too thick here because the cracks were really big.
So now what I had was 3 walls of different thickness and different size cracks. It didn't really look good at all and I was beginning to think I had ruined the room. Then I got out my new fabulous Dremel Multimax sander and began trying to make everything look somewhat uniform.
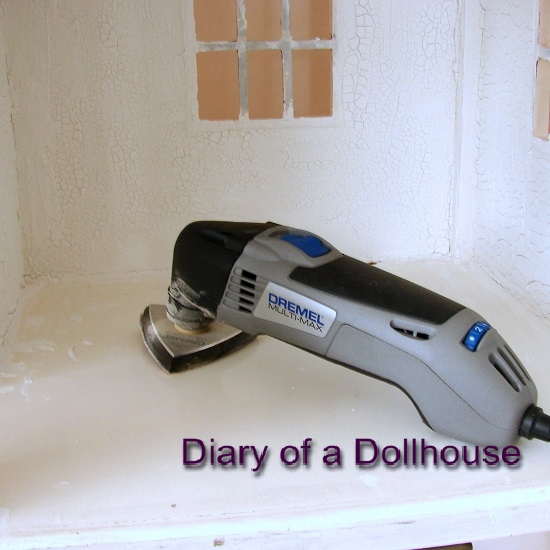
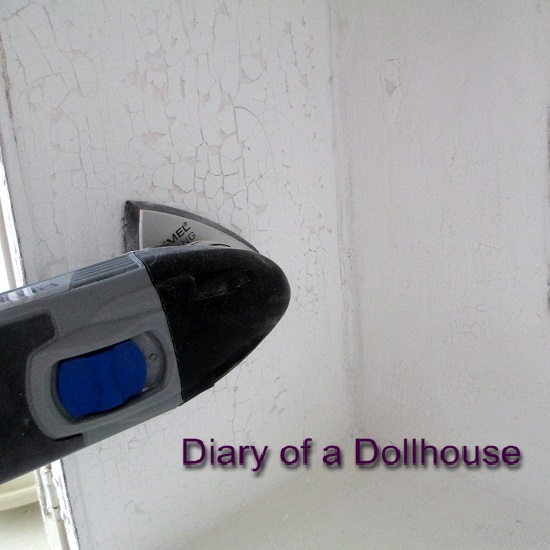
This was day number 6. It takes overnight for each application to dry, and because I had to turn the dollhouse for each wall to be horizontal I could only do one a day. The Dremel tool took out chunks of the plaster finish in some of the thicker areas so they ended up with holes, and the thin areas had even less texture than before. It actually made things look better though, at least the surfaces weren't wavy and uneven.

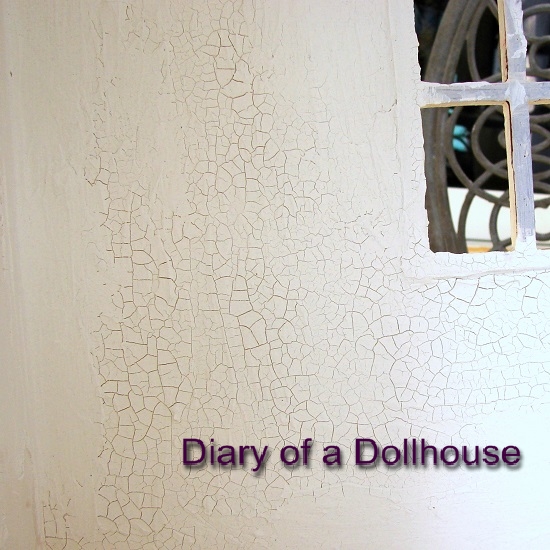
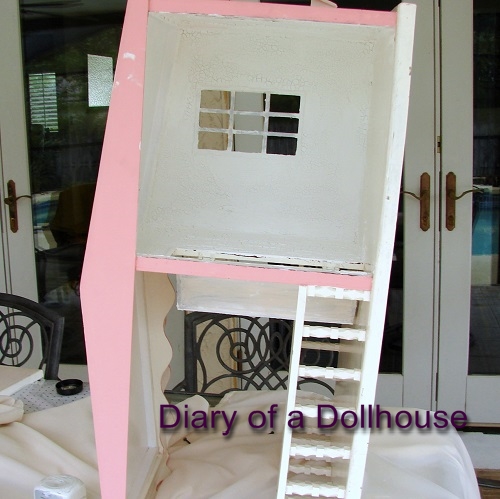
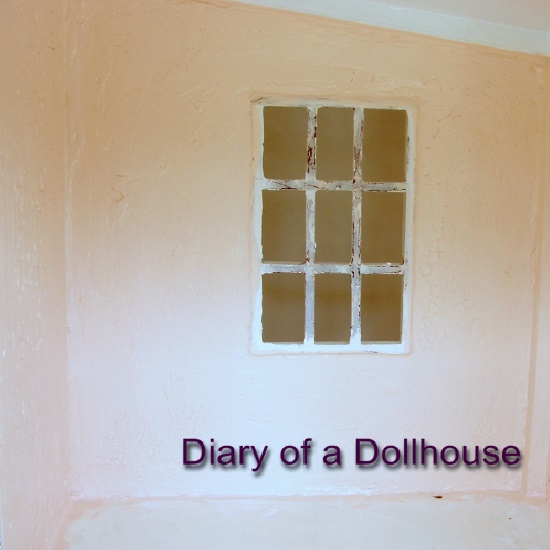
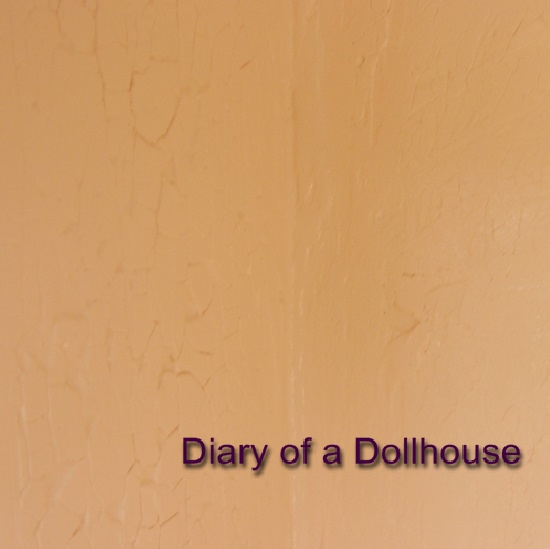
After sanding I used a hair dryer to blow out all the dusty sanded stuff. Then I painted over the finish with flat wall paint, and added another coat of sealer. The sealer makes the flat paint have more of a semi gloss look, making it easy to wipe off. I like it a lot. It's a good way to make little sample sizes of flat paint look like a more expensive finish. Here's the completed room. I think it looks okay. I was beginning to get worried because of all the irregularities but even with the different crack sizes and holes it looks fine. Like it's old and in different stages of disrepair.
Overall I'm satisfied with the outcome but it wasn't an easy process. In retrospect I would not have attempted it. It took a week to crackle one room which I think is just "okay" looking. And it cost around $33 excluding the cost of the colored paint, I already had that. I think I should have just kept it simple and painted the walls. But at least it's done and today I worked on painting the window trim and other white surfaces. So I'm on the home stretch. In the meantime I bought some flooring from a dollhouse miniature store in town. This is a playscale size doll house and miniature floors may look small but too bad. I'm ready to get to the decorating and playing stage.


Category: Beach Cottage Dollhouse
About the Author (Author Profile)
Retired Florida CPA who loves playing with and collecting dollhouses and dolls.Subscribe
If you enjoyed this article, subscribe to receive more just like it.


